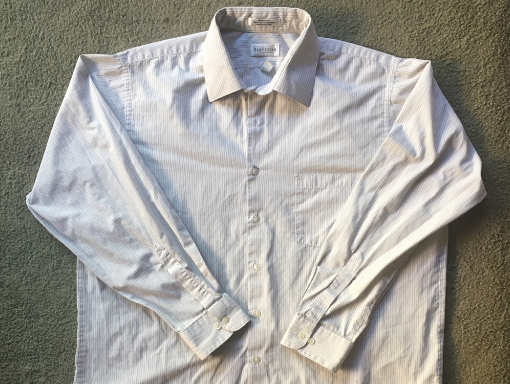

What You'll Need:
Why I Love this Upcycle...
- Oversized button-up shirt (mine’s from my Dad)
- Scissors
- Sewing machine
- Thread
- 1.5 yards of elastic of 0.75″ width
I love reusing old clothing to create brand new pieces. This is just another great way of giving life back to clothes that aren’t worn anymore. I asked my Dad if he had any button-up shirts he wasn’t wearing and he gave me this one. Ask your brothers or check in the thrift store for large button-up shirts. I’m sure you’ll find one! This DIY is super easy so let’s jump in.
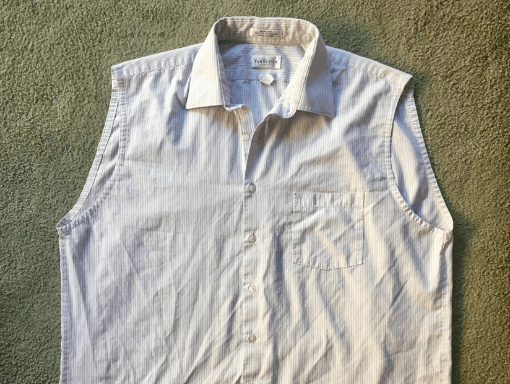
Cut off the sleeves
Start by cutting off the sleeves on both sides.
Cut right outside of the seam.
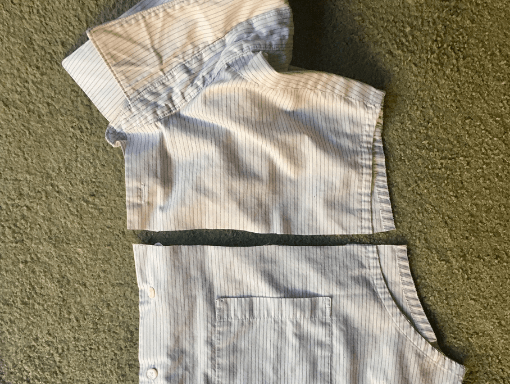
Cut off the top
Start by cutting off the top section.
I cut halfway through the armhole.
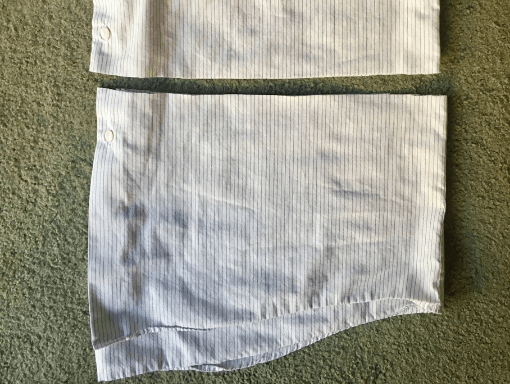
Chop off the bottom
Then cut off a portion at the bottom. This will become the part that is sewn onto the top as the ruffle.
You want this long enough so that it is about half the length of the top portion. This is not an exact science, so just eyeball what seems about right.
This amount will also be determined by the bottom placement. It is best to leave about 2 inches below the last button above the cut line.
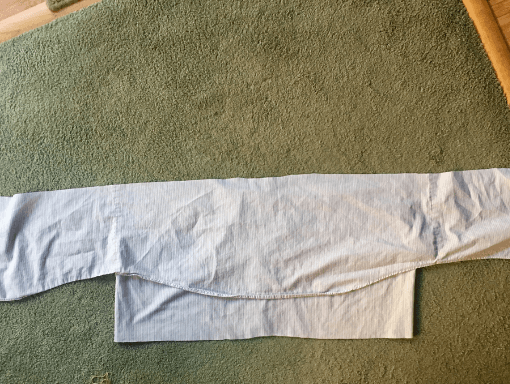
Line Up the Pieces
Now that you have your two pieces, lay them on top of each other. Line up the middle of the ruffle piece with the middle of the shirt piece.
Place the wrong side of the top piece to the right side of the bottom piece.
We want to connect these two pieces before we sew a casing.
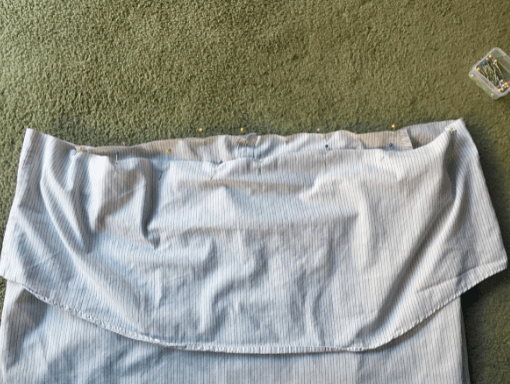
Pin the Pieces
Once you’ve lined up the pieces, pin them together.
Remember, the wrong side of the ruffle piece to the right side of the shirt piece.
In the back, there will be a little bit of overlap. Simply overlap the excess and pin.
Take this over to your machine and sew these two pieces together with a narrow seam allowance of 1/4 inch.
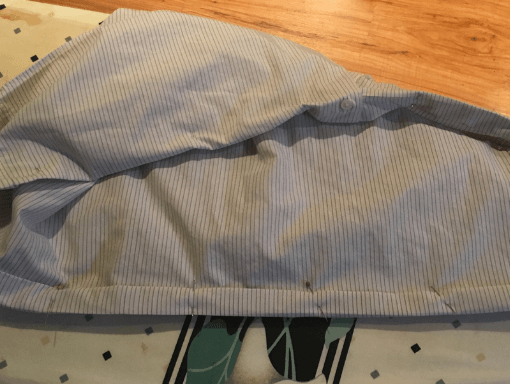
Create a Casing
Now that those pieces are sewn together we can sew the casing.
Fold the top over once 1 inch and then another 1 inch.
This tube needs to be large enough to fit the elastic.
Then sew this with a topstitch.
Sew close to the edge.
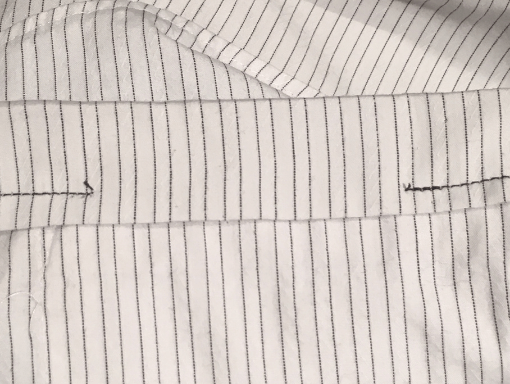
Leave a Gap for the Elastic
Sew around the top but leave a gap of 2 inches in the back.
This is where the elastic will go in.
Add the Elastic
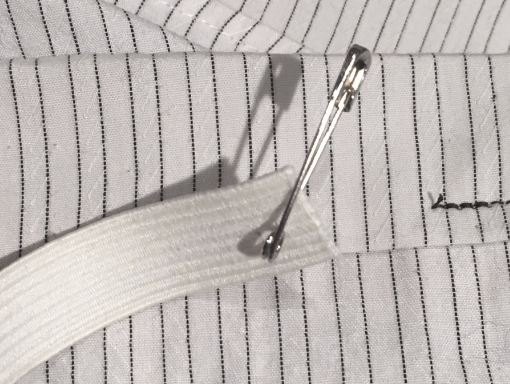
First, I like to take the elastic and wrap it around my shoulders. I find a comfortable amount of elastic and then I cut the elastic down to that size.
Next, I attach a safety pin to one end of the elastic. Feed that end into the opening.
Continue until the elastic goes all the way around and comes out the opening again.
Lastly, overlap the elastic ends and sew them together.

All Finished
The final step is to hem the bottom of the shirt piece.
Thankfully, the ruffle piece is already hemmed.
Tada, you are all done with your upcycle!
If you make this top, you can tag @genuinelyemstyle so that I can see it too!
If you wish to show your appreciation for this DIY tutorial and support the future of this blog and my small business, any donation is welcome through the below link.